Table of Contents
- Base Installation
- Prerequisites
- Installation of Keycloak
- Configuration of Keycloak
- Configuration of the Olvid Plugin
- Upgrading
- Additional Configuration
- Configuration of an External IdP
- Using LDAP User Federation
- x509 Client Certificates Authentication
- Configure Olvid via an MDM
- Using the management console
- Use the Olvid Management Console
- Misc.
- Changelog
Configuration of an External Identity Provider
Instead of configuring Keycloak with local users as we did previously, it is possible to configure an external Identity Provider (IdP). When using such an IdP, users will have a choice to sign in with a login/password (for local users) or to authenticate using the IdP.
The first time a user authenticates with the IdP, a local user will be created, with no credentials, and with attributes imported from the IdP. If you decide that all users should sign in through the IdP, it is also possible to completely disable sign in with a login/password.
1. Adding an external IdP
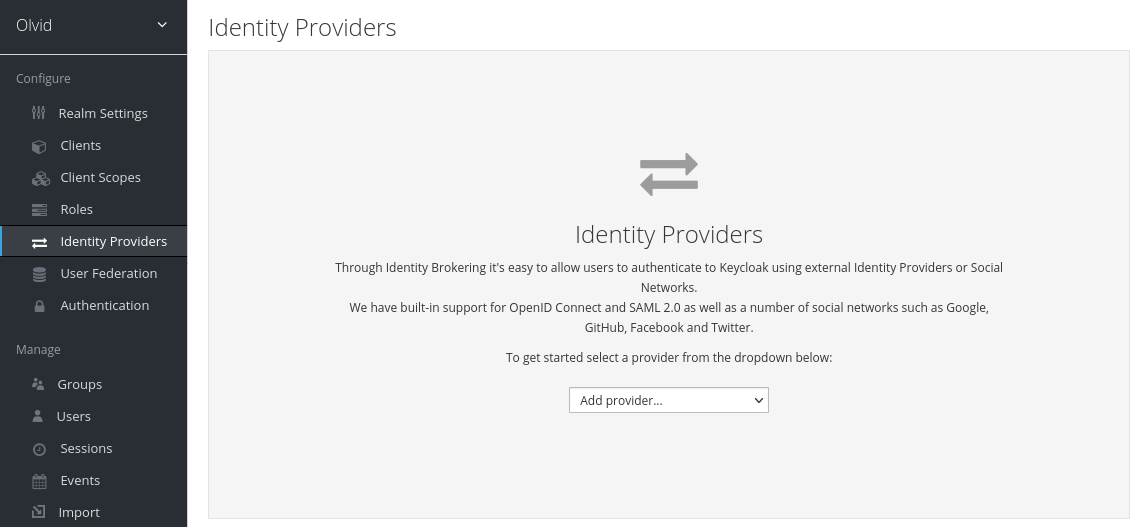
To add an IdP, select the olvid realm in the admin console and open “Identity Providers”

You can choose between a list of pre-configured identity providers or manually configure an “OpenID Connect v1.0” or “SAML v2.0” provider. We do not go into the details of how to configure each type of IdP here, but note that your instance of Keycloak will need to be registered with this external IdP, otherwise the IdP will not allow Keycloak to use it for authentication.
2. Automatically redirecting to an external IdP
Once configured, your IdP should appear in “Identity Providers”, with the name you chose for it.

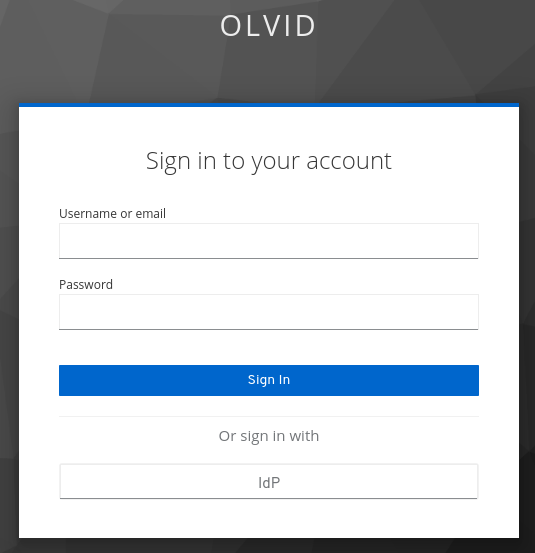
And the login page for this client should now contains an “IdP” button like this:

In order to simplify the sign in process for your users, automatically redirecting them to the IdP is usually the right choice (unless this realms contains a mix of IdP users and local users!). This can be done from the “Authentication” part of the console. Go there and select the “Browser” flow from the dropdown menu at the top left:

At the very right of the “Identity Provider Redirector” line, click “Action” > “Config” to configure the default IdP. Choose an alias for this redirector (the alias has no importance) and select enter the name you chose for your IdP (be careful, this is case sensitive, use the exact name you chose):

Click “Save”, and that’s it. The next time they reach the login page, your users should be redirected to the external IdP login page you chose. You may also completely disable Form-based login by disabling all unnecessary auth types:
