Table of Contents
- Base Installation
- Prerequisites
- Installation of Keycloak
- Configuration of Keycloak
- Configuration of the Olvid Plugin
- Upgrading
- Additional Configuration
- Configuration of an External IdP
- Using LDAP User Federation
- x509 Client Certificates Authentication
- Configure Olvid via an MDM
- Using the management console
- Use the Olvid Management Console
- Misc.
- Changelog
x509 Client Certificates Authentication
This section describes the procedure for Keycloak legacy. We have not yet tested/documented x509 authentication on the latest Keycloak version.
So as to avoid users having to enter a login/password, it is possible to authenticate with Keycloak using an x509 client certificate. In order to implement such an authentication, you will need:
- a certification authority (which will be denoted by CA) that will sign your users client certificates
- a means of importing the client certificate and the CA root certificate in the browser (Safari for iOS, on Android the user may choose which browser to use) used by the smartphone for authentication
- to configure the reverse proxy to forward the client certificate it receives to Keycloak (keycloak natively supports nginx, apache and HAProxy, but other proxies may be configured in a similar manner)
- to configure Keycloak to trust your CA and accept client certificates for authentication
1. Creating a certification authority
We give here a small example of how to create your own minimalist CA just for use with Keycloak and Olvid, but you may also use an existing CA, possibly with a publicly recognized root certificate. Also, if building your own CA, you should create a proper CA configuration file, but here we give the most simple example! In all cases, the rest of the procedure will be the same.
To create a self-signed root CA certificate, use:
-
> openssl genrsa -aes256 -out CA.key 4096When prompted, enter a password to secure the root CA private key
-
> openssl req -x509 -new -nodes -key CA.key -days 3650 -out CA.crtYou must enter the password chosen at the previous step, then enter information relative to your CA. You may leave all the fields blank, except the Common Name which must match the public DNS of your Keycloak server.
WARNING, if the CN does not match, the client certificate will not be presented to Keycloak when authenticating.
Now that the CA is created, we can proceed with the client certificates.
2. Creation of a client certificate for a user
Each user must have his own client certificate, containing his email address (or his username) which will be used to identify them on Keycloak. It is possible to generate a client certificate for Bob with the following steps:
-
> openssl req -nodes -newkey rsa:4096 -keyout bob.key -out bob.csrYou then need to fill in Bob’s details. Note that here we opt out of encrypting Bob’s key for easier import.
It is important that the Email of Common Name field of the certificate contains the element that will be used to identify the user on Keycloak. -
> openssl x509 -req -days 3650 -in bob.csr -CA CA.crt -CAkey CA.key -set_serial 0001 -out bob.crtYou must once again enter the CA password to sign Bob’s certificate.
It is possible to check the certificate content with the command:
> openssl x509 -in bob.crt -noout -text
Certificate:
	Data:
    	Version: 1 (0x0)
    	Serial Number: 1 (0x1)
    	Signature Algorithm: sha256WithRSAEncryption
    	Issuer: CN = keycloak.client.fr
    	Validity
        	Not Before: Jun  8 11:12:13 2021 GMT
        	Not After : Jun  6 11:12:13 2031 GMT
    	Subject: CN = bob, emailAddress = bob@client.fr
    	Subject Public Key Info:
        	Public Key Algorithm: rsaEncryption
            	RSA Public-Key: (4096 bit)
            	Modulus:
                	00:d9:d0:f4:a4:09:04:09:da:40:26:4b:23:c5:e8:
                	67:7c:b7:4c:21:a0:ea:b2:f3:c7:5e:8e:ca:e9:d9:
                	35:7e:f5:bc:d6:56:b5:bd:36:a2:ab:9d:a0:3a:07:
                 ......
The certificate is ready, it needs to be bundled with its key in pkcs12 format in order to import it on the smartphone:
> openssl pkcs12 -export -in bob.crt -inkey bob.key -out bob.p12
That’s it, the bob.p12 certificate can be imported on the smartphone!
3. Installation of a client certificate on a smartphone (Android)
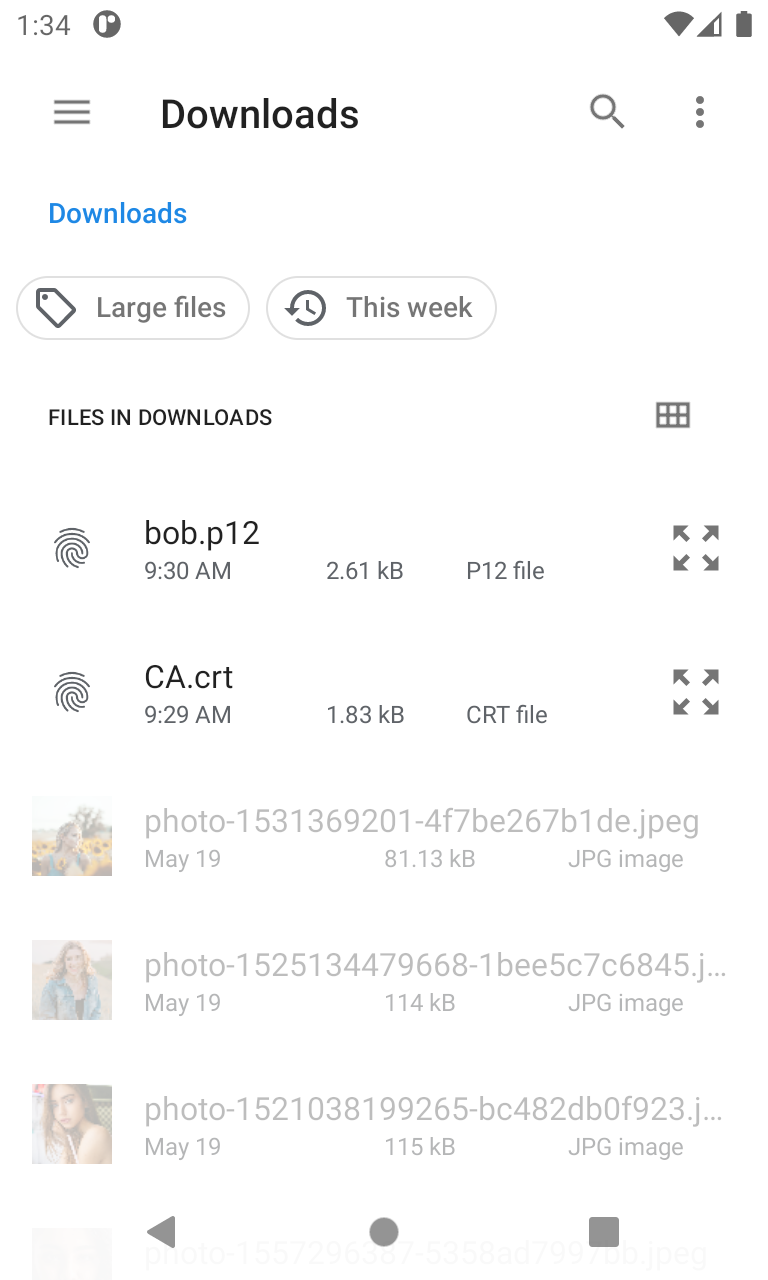
The first step consists in transferring the bob.p12 and CA.crt files to the smartphone using whatever method works for you. Both need to be accessible from the Files app.
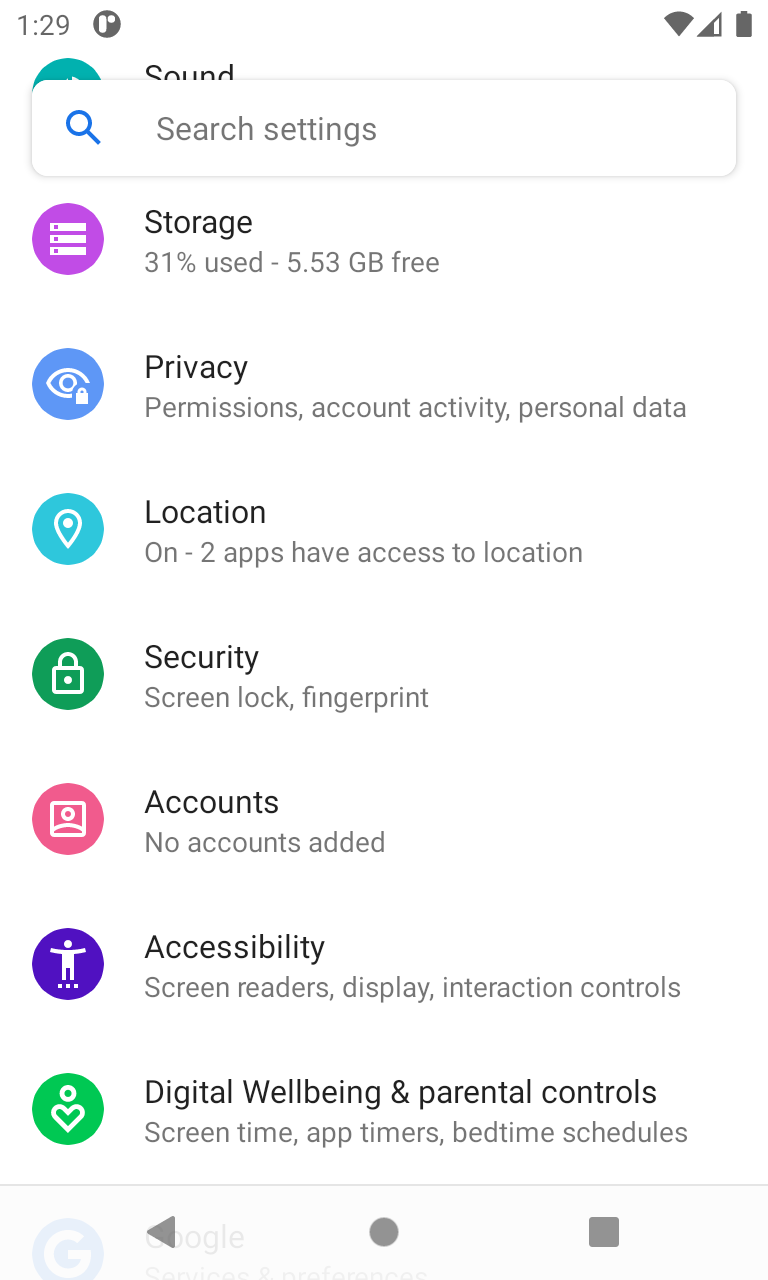
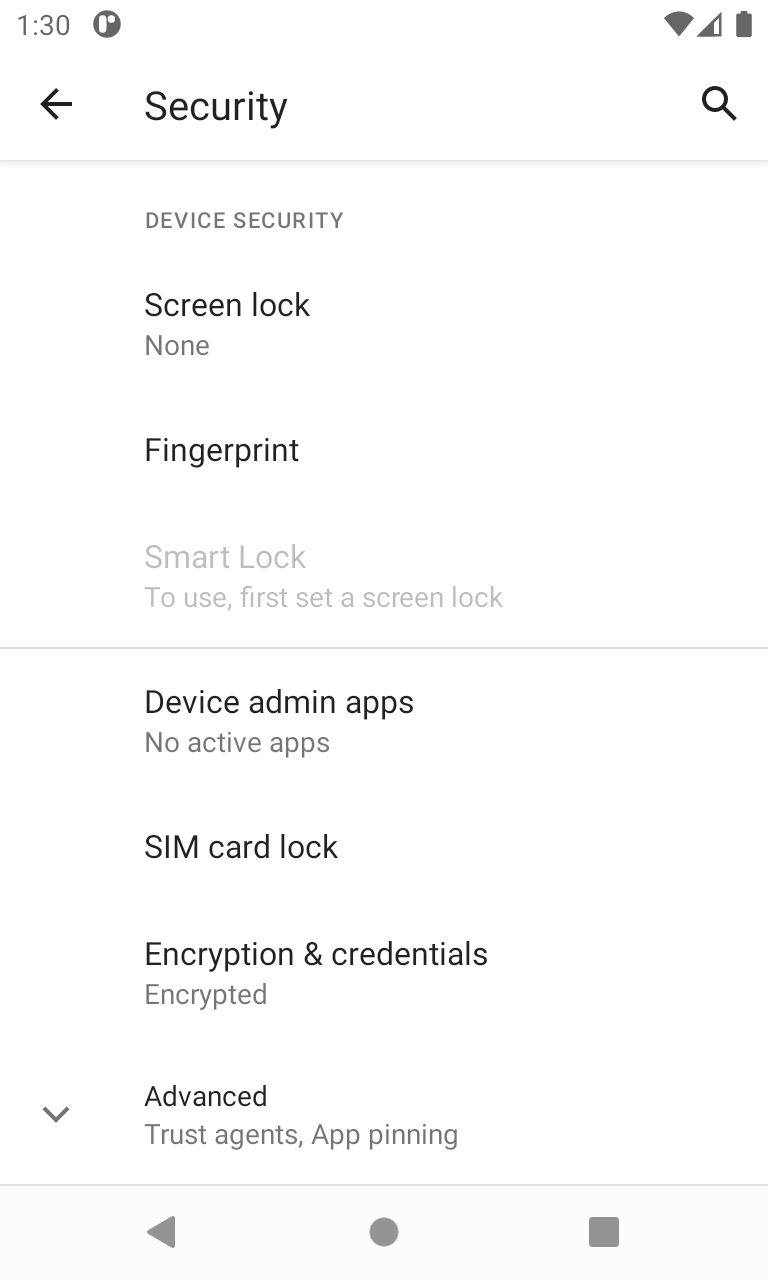
Now, we will add these certificates to the OS trusted certificates list. Go to Settings > Security > Encryption & credentials > Install a certificate
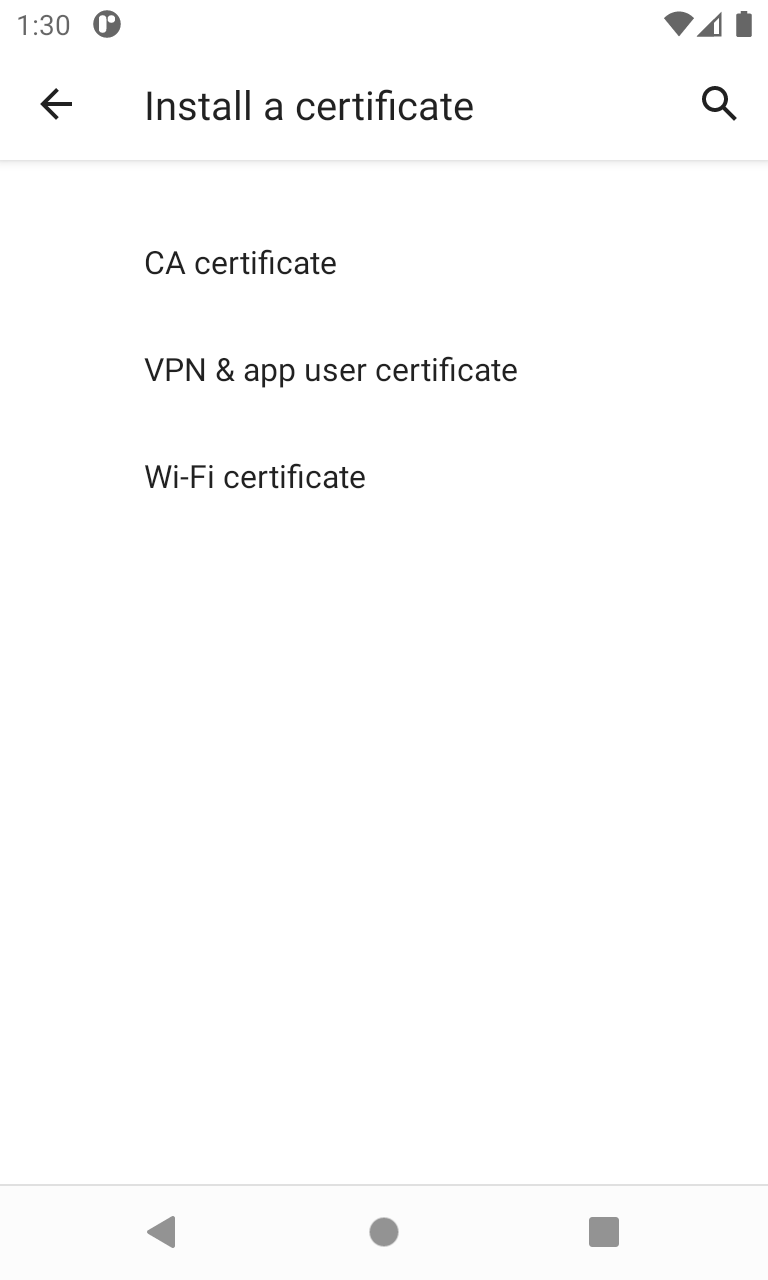
Once there, you must:
- press on “CA certificate”
- skip the warning by pressing “Install anyway”
- select the
CA.crtfile - a toast message says “CA certificate installed”
Now, for the client certificate:
- press “VPN & app user certificate”
- select the
bob.p12file - choose a name (or not) and press “OK”
4. Reverse proxy configuration
Keycloak is not directly exposed to the internet and is normally located behind a reverse proxy. The client certificate will therefore be presented to the reverse proxy, who will be in charge of verifying the client is indeed the owner of the certificate (that it knows the associated private key, contained in the .p12 file), and of validating the chain of certificates. Then, Keycloak will need to find the user associated with this certificate. For this reason, the reverse proxy must forward the certificate to Keycloak.
The Keycloak configuration guide explains how to do this here:
Using nginx as an example, start by copying the CA certificate on the reverse proxy (for example in /etc/nginx/CA.crt), then, add the following configuration lines:
server {
    ...
    ssl_client_certificate      /etc/nginx/CA.crt;
    ssl_verify_client           optional_no_ca;
    ssl_verify_depth            1;
    ...
    location / {
      ...
      proxy_set_header ssl-client-cert    $ssl_client_escaped_cert;
      ...
    }
    ...
}
You may then restart the reverse proxy to reload the configuration.
5. Keycloak configuration for client certificates
The Keycloak configuration consists of two steps:
- modifying the
standalone-ha.xmlfile to read the certificates forwarded by the reverse proxy - modifying the authentication flow to handle client certificates
Creation of a .jks truststore
Keycloak uses truststores in JKS format to host the CA certificates it trusts. We can create such a file with the following command:
> keytool -import -file CA.crt -storetype JKS -keystore user_CA.jks
Choose a password for the keystore that you will need to add to the standalone-ha.xml file, answer yes when keytool asks if you want to trust this certificate.
You must then copy the user_CA.jks file inside the configuration folder of Keycloak at standalone/configuration/
Configuration of standalone-ha.xml
Now you must configure Keycloak so that it loads this keystore and uses it to validate client certificates. For this, there are 3 configuration blocks to add to standalone-ha.xml.
<server xmlns="urn:jboss:domain:16.0">
<management>
<security-realms>
...
<security-realm name="ssl-realm">
<authentication>
<truststore path="user_CA.jks"
relative-to="jboss.server.config.dir"
keystore-password="XXXXXX "/>
</authentication>
</security-realm>
...
</security-realms>
</management>
...
<profile>
<subsystem xmlns="urn:jboss:domain:keycloak-server:1.1">
...
<spi name="x509cert-lookup">
<default-provider>nginx</default-provider>
<provider name="nginx" enabled="true">
<properties>
<property name="sslClientCert" value="ssl-client-cert"/>
<property name="sslCertChainPrefix" value="USELESS"/>
<property name="certificateChainLength" value="1"/>
</properties>
</provider>
</spi>
...
<spi name="truststore">
<provider name="file" enabled="true">
<properties>
<property name="file"
value="${jboss.home.dir}/standalone/configuration/user_CA.jks"/>
<property name="password" value="XXXXXX "/>
<property name="hostname-verification-policy" value="WILDCARD"/>
<property name="enabled" value="true"/>
</properties>
</provider>
</spi>
...
</subsystem>
</profile>
</server> Remember to replace XXXXXX with the password you chose for the keystore. After modifying the configuration file, you must restart Keycloak.
Modification of the authentication flow
You can read the official documentation on this topic here:
Connect to the Keycloak administration console and perform the following steps:
- select the
olvidrealm - click on “Authentication” and choose the “Browser” flow in the dropdown
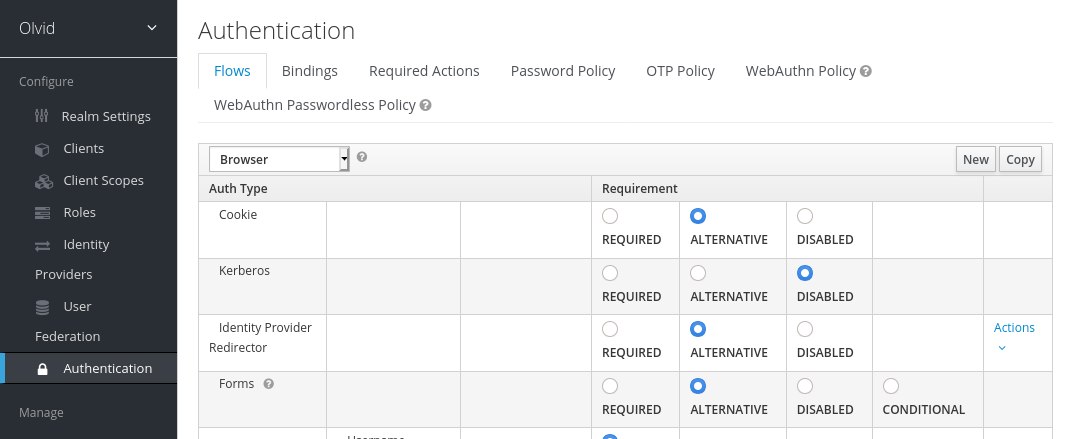
- click on “Copy” at the top right to make a new flow and name it “X509 Browser”
- here, you have to make a choice! Do you wish users to connect only with an x509 client certificate, or do you prefer also allowing a login/password based connection? Click on “Add execution” and
- in the first case, choose the provider “X509/Validate Username”
- in the second case, choose the provider “X509/Validate Username Form” which also gives the option to enter a login/password
- you should reach a screen similar to this:
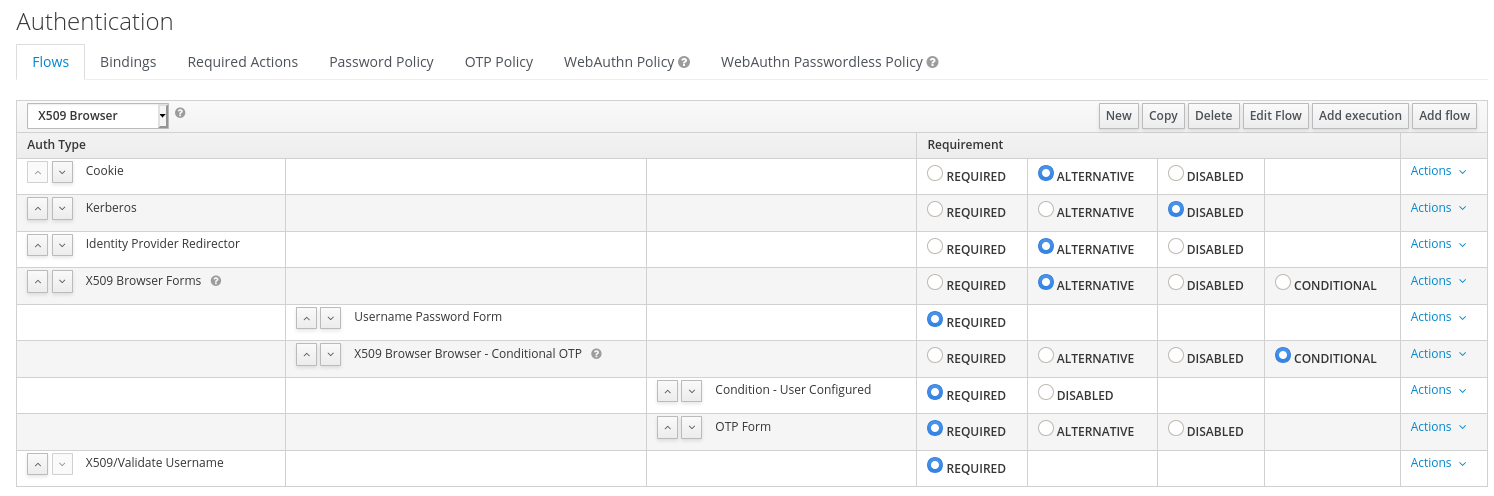
- If you chose the first option, with only certificate-based authentication, you may remove all the lines except the last one by clicking “Actions” (to the right), then “Delete”. Otherwise, do not change anything.
- On the last line, click “Actions” then “Config” to configure the certificate-based authentication.
- choose an “Alias”, for example “Match email”
- for “User Identity Source”, this depends on the certificate field you wish to match with your user database. To match the email with the email field of the Users, choose “Subject’s e-mail”.
- for “User mapping method”, choose “Username or Email”.
- all the other fields allow the configuration of a CRL or an additional OCSP validation, etc. Do not hesitate to configure them based on your needs.
- Click “Save” at the bottom.
- Go back to “Authentication” and open the “Bindings” tab
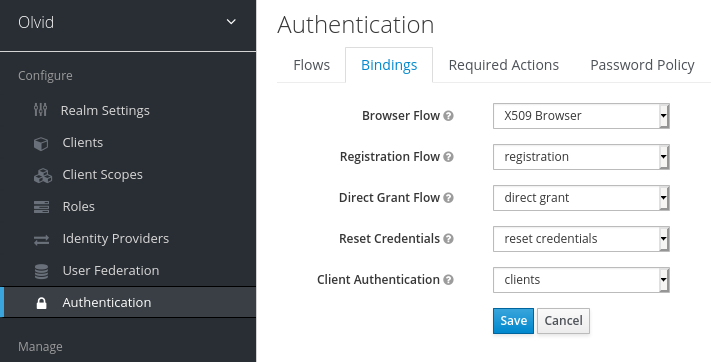
- For “Browser Flow” choose the new “X509 Browser” flow you just created and click “Save”.
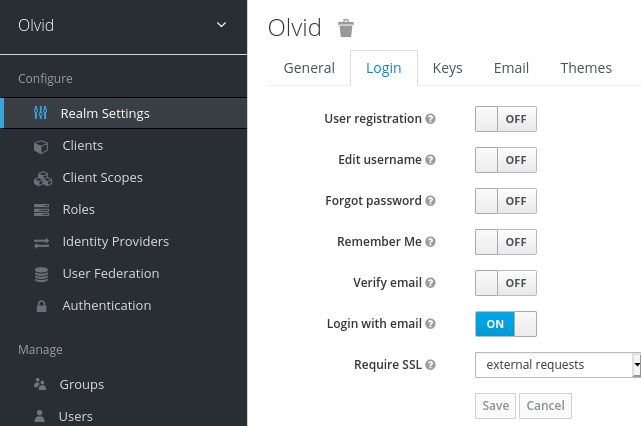
- Just to be sure, open “Realm Settings” > “Login” and check that “Login with email” is indeed active. This is required to match on the email instead of the username.
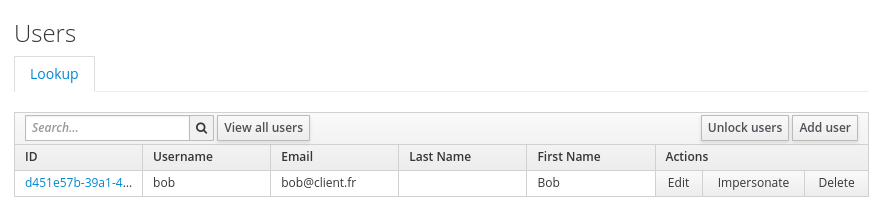
That’s it, Keycloak is configured for certificate-based authentication. You can create a new user with the same bob@client.fr email address you put in the certificate so as to test authentication. Note that for client certificate authentication, this user does not need to have a password set in Keycloak.