Table of Contents
- Base Installation
- Prerequisites
- Installation of Keycloak
- Installation of Keycloak (legacy)
- Start Keycloak
- Final Setup Steps
- Configuration of Keycloak
- Configuration of the Olvid Plugin
- Upgrading
- Additional Configuration
- Configuration of an External IdP
- Using LDAP User Federation
- x509 Client Certificates Authentication
- Configure Olvid via an MDM
- Using the management console
- Use the Olvid Management Console
- Misc.
- Changelog
Start Keycloak
You may now start the Keycloak server with the following command (to be run from with the keycloak-19.0.3 folder):
> bin/standalone.sh -c standalone-ha.xml -b 0.0.0.0
The -c option sets the configuration file to use, the -b option sets the IP address to which the server should bind (by default, only local connections are accepted, use 0.0.0.0 to bind to all IP addresses).
Check the console for possible red error messages and exceptions from Keycloak (note that these error messages may be VERY verbose, always check for the first error message…). The most common errors are:
- misconfigured database:
- bad credentials
- database unreachable (blocked by firewall)
- timeout in database accesses (typically write logs may be blocking)
- syntax error in the XML file:
- element at the wrong location in the file
- wrongfully closed
<tag>
1. Creation of an admin user
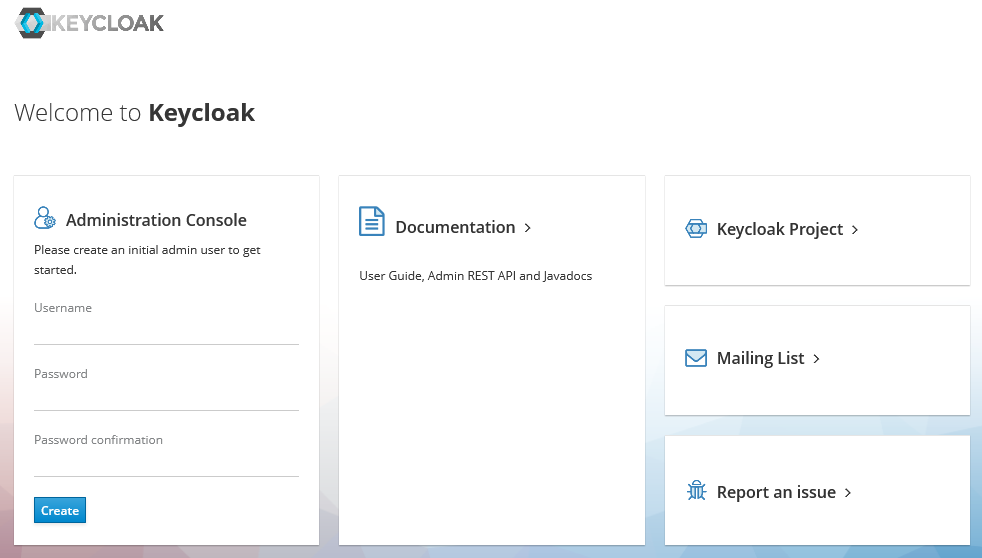
Before being able to configure the Keycloak server, you must manually create an admin user on the main Keycloak realm (master).
If you are able to connect to your Keycloak server using your browser you should see something like this and may create the admin user using the browser form:

Otherwise, you can create the admin user from the command line, as always from the keycloak-19.0.3 folder, but must then restart Keycloak:
> bin/add-user-keycloak.sh -u <USERNAME> -p <PASSWORD> You may continue with the Final Setup Steps.