Table of Contents
- Base Installation
- Prerequisites
- Installation of Keycloak
- Configuration of Keycloak
- The Master realm
- The Olvid users realm
- The Olvid admin realm
- Configuration of the Olvid Plugin
- Upgrading
- Additional Configuration
- Configuration of an External IdP
- Using LDAP User Federation
- x509 Client Certificates Authentication
- Configure Olvid via an MDM
- Using the management console
- Use the Olvid Management Console
- Misc.
- Changelog
Create an Olvid admin realm
The Olvid Management Console can be accessed by anyone logged into the master realm of Keycloak. However, it is recommended to leave the administration of Keycloak itself (and access to the master realm) to server administrators and create a dedicated olvid_admin realm for the administration of Olvid and the day to day management of Olvid users.
- If you do not plan on having dedicated Olvid administrators, you may completely skip this step!
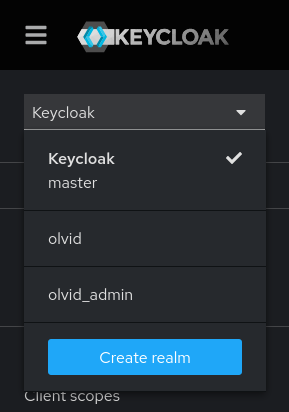
1. Create the olvid_admin realm
-
Open the Manage realms page on the left and press Create realm at the top.
-
for the Realm name enter “olvid_admin”, or any other name that helps you tell this realm appart from the
masterandolvidrealms. Avoid spaces or special/accented characters as this realm name will be included in URLs.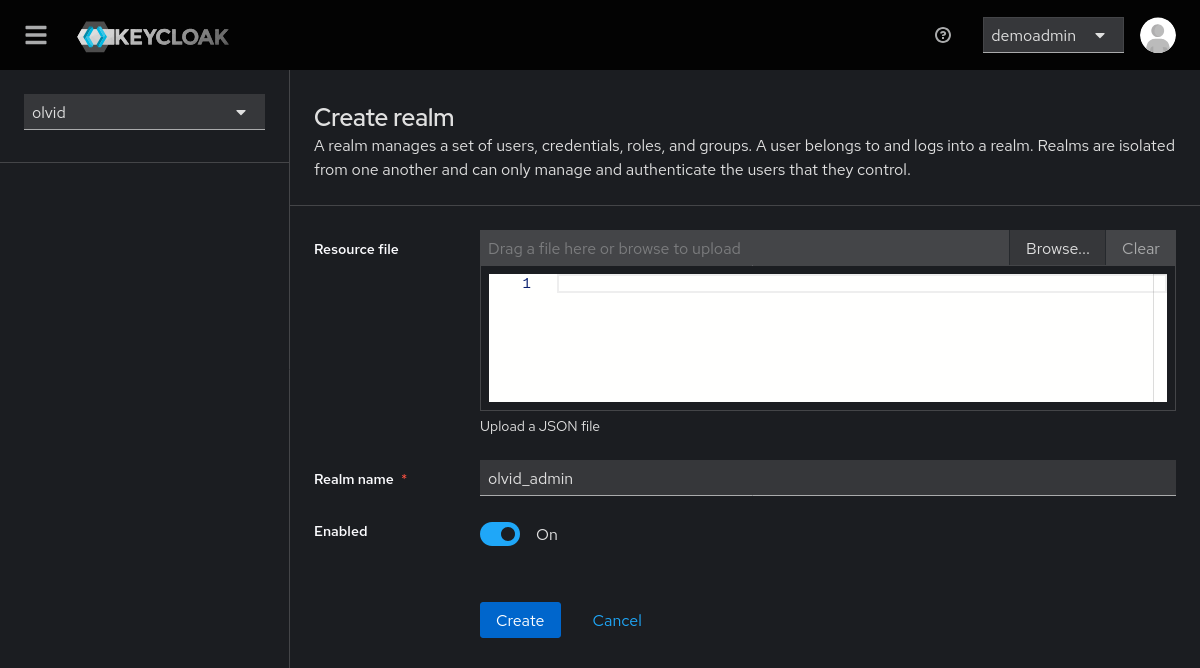
-
press Create and wait a few seconds for the realm to be created.
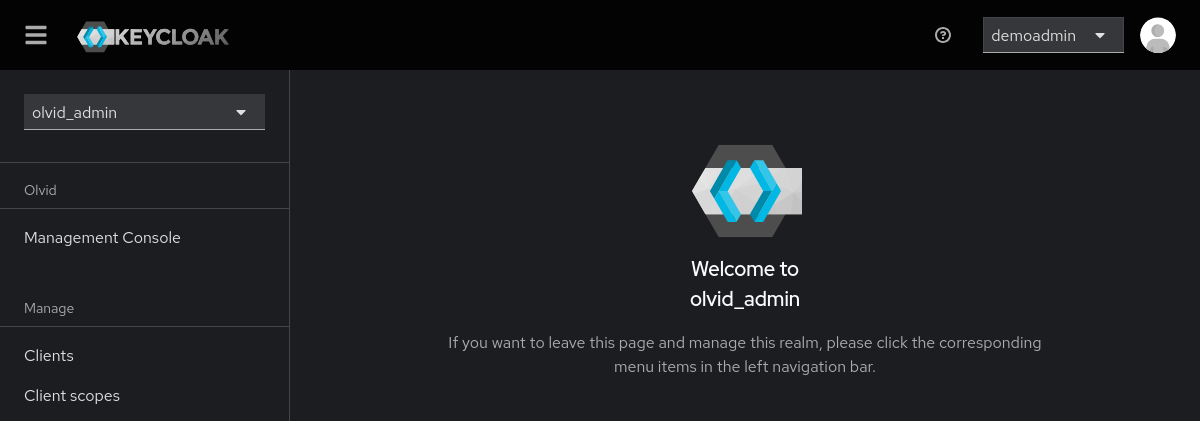
2. Adjust the realm settings
As for the olvid realm, there are many settings that can be adjusted for this new realm. However, as this realm will be used to authenticate users for a web application, the default Keycloak settings are probably almost good for you.
- you can adjust the lifespan of tokens to your needs
- no need to create a specific client for authentication here, the default authentication mechanisms will be used
Contrary to the Olvid user realm, you do not need to create a specific client for authentication as admin users will log in directly from the browser, using the regular Keycloak authentication flow. Do not deactivate the account or account-console clients for this realm.
3. Add users to this realm
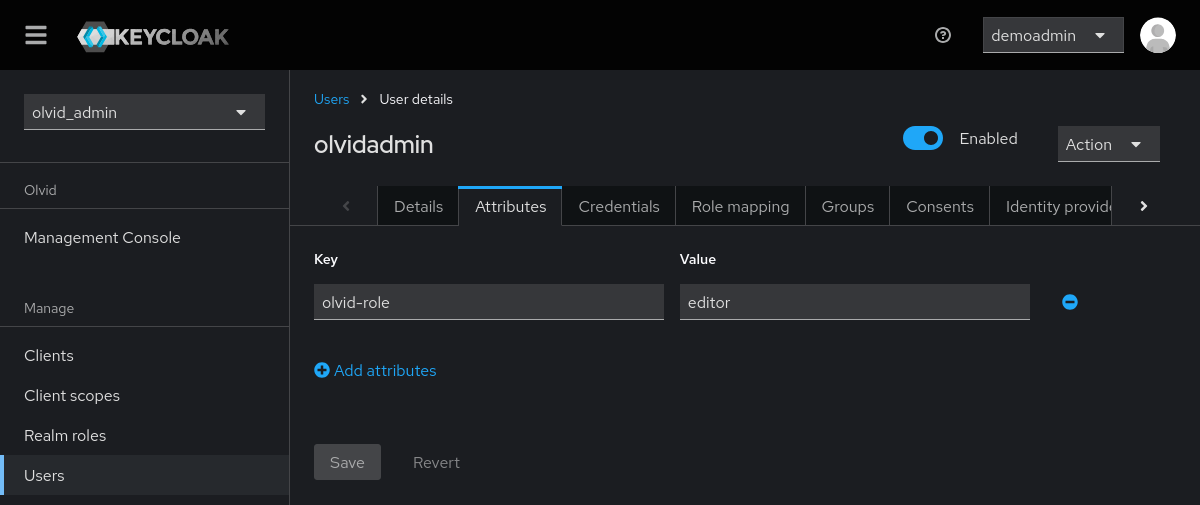
You may either create users manually (either from the Keycloak interface or from the Olvid management console) or add an external Identity Provider, or LDAP user federation for admins too. If you choose to use local users, you can create admin users directly from the Olvid console.
If you need to create users using the Keycloak administration interface (or APIs) instead of the Olvid Management Console, you should set the olvid-role attribute of these users to one of admin, editor, or viewer.
4. Configure themes
In order for admins to see a recognizable login screen with an Olvid logo and have easier access to the Olvid Management Console, specific themes must be selected.
-
Open the Realm settings page from the left menu and select the Themes tab.
-
Select olvid for the Login theme and Account theme, and press Save at the bottom.